This section describes how to add new locking system service addresses to iLOQ Manager.
Proceed as follows.
Open iLOQ Manager.
The login screen is opened.
Figure 1. Login Screen
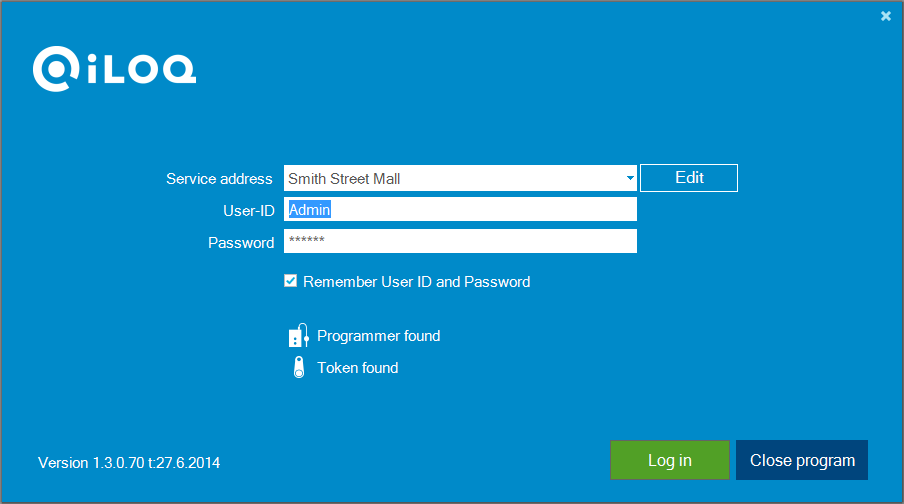
Click the Edit button.
The login data screen is opened.
Figure 2. Login Data Screen
Enter locking system information as follows:
Service address — Enter the locking system database server address, in this field. Ensure that the service address is the same as in the Login data document provided with the locking system.
Service code — Enter the locking system-specific service code, in this field. Ensure that the service code is the same as in the Login data document provided with the locking system.
Customer name — Enter the name of the locking system, in this field.
Test the connection by clicking the Test server connection button.
If the server connection succeeds, select OK.
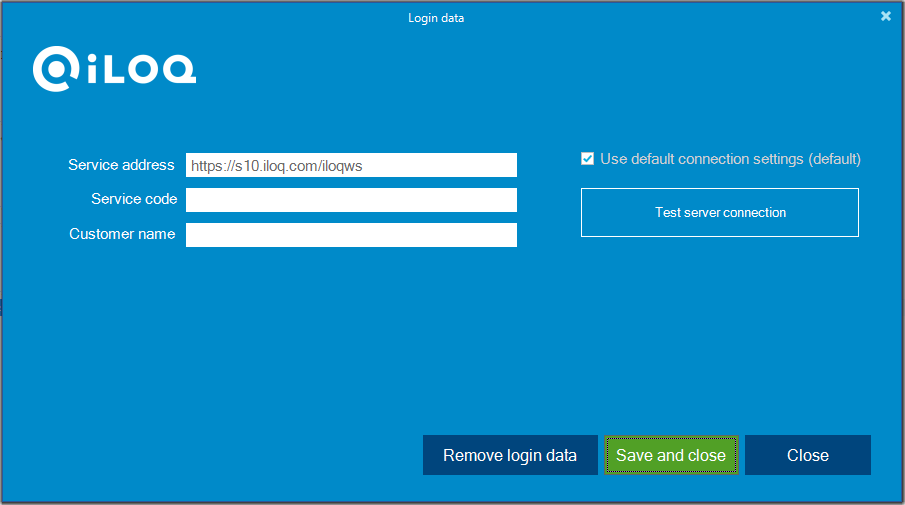
If the server connection fails, edit the proxy settings as follows:
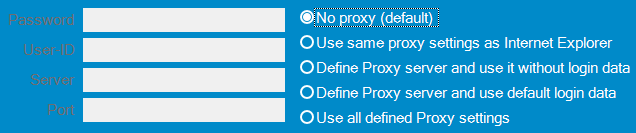
Uncheck the Use default connection settings (default) check box.
Proxy settings are opened:
Figure 3. Proxy Settings
Select Use same proxy settings as Internet Explorer.
Test the connection by clicking the Test server connection button.
Please note that iLOQ does not manage its customers' iLOQ locking systems.
If you need a new key (digital or phone key), have lost your key, or want to check the access rights of your key, please contact the administrator of the locking system (Property manager / Maintenance company / iLOQ Retailer).